
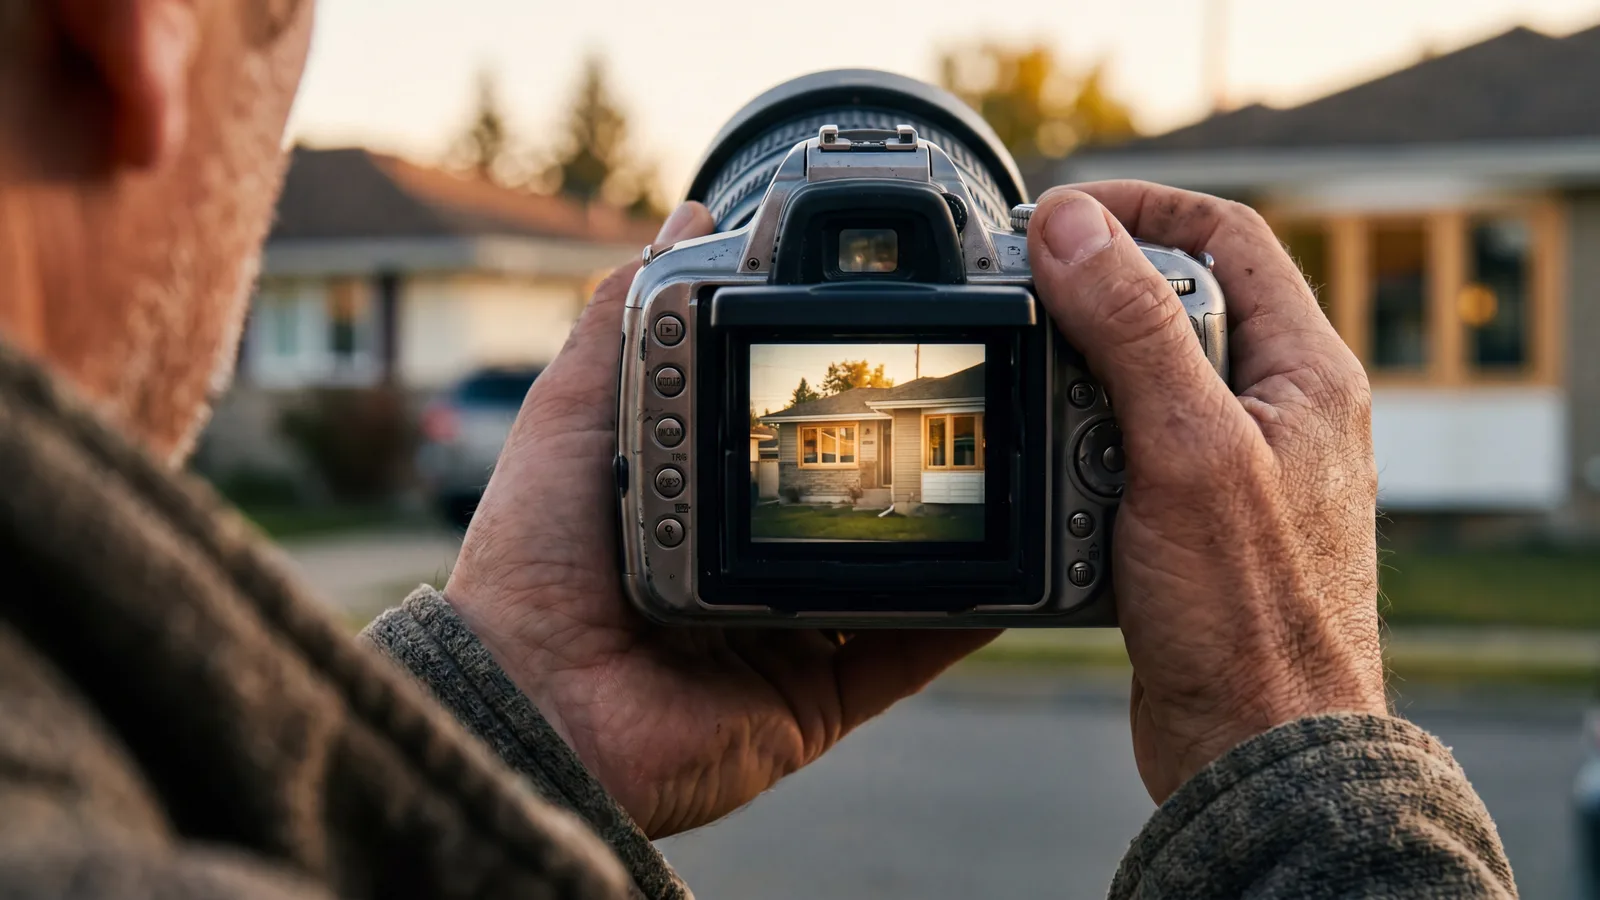
The visual quality of your photography is one of the highest-leverage brand decisions a residential window & door replacement contractor makes, and one of the cheapest to fix. Stock photos signal commodity contractor; real, well-shot customer-job photos signal premium operator. The difference doesn't require a $5K/month photographer, it requires a small amount of discipline applied consistently across every install.
The photography categories that move conversion
1. Before/after install pairs
The single highest-leverage photography type. Same window opening, before and after, identical angle. Communicates product transformation and your install quality in two seconds with no copy required. Aim for 40-60 of these in your library by year 1, hundreds by year 3.
2. Crew on-site
Your install crew working on a real job. Branded uniforms/shirts visible. Equipment, ladders, tarps in frame. Humanizes the brand and signals you actually run your own installs (vs subbing them out invisibly).
3. Showroom or office (if applicable)
Clean, well-lit shots of your physical presence if you have one. Signal of legitimacy and stability.
4. Product detail shots
Glass packages cross-sectioned, hardware close-ups, frame material samples. Useful for product-explanation pages and social content.
5. Branded vehicle shots
Your install van or truck parked on a driveway. Branded wrap visible. Signals you're an established, branded operation in the neighborhoods you serve.
6. Customer interaction shots (with permission)
Owner or rep meeting with a homeowner. Smiling but not forced. Communicates the consultative, service-driven approach.
What NOT to use
The capture system
Building a high-quality photo library doesn't require a photographer. It requires a system:
Step 1: Crew responsibility
Each install crew is responsible for capturing 3-5 photos per job: 1 before-install of the existing windows, 2-3 after-install of the same openings from the same angles, 1 crew-on-site shot mid-install. Any phone bought in the last few years is enough camera for this; the lighting and the angle matter far more than the sensor.
Step 2: Photo specs
Standard guidelines for crew:
- Horizontal orientation (landscape) for most uses.
- Natural light, mid-day if possible. Avoid harsh shadows or dim interior shots.
- Wide angle to capture the whole window plus surrounding context.
- Clean foreground, move install equipment for the finished shot.
- Same angle for before and after.
Step 3: Photo intake
Crew uploads photos to a shared cloud folder labeled by job number / address. Office manager or marketing person reviews weekly, selects the best 1-3 from each install for the master library.
Step 4: Light editing
Crop, brightness adjustment, color balance. A free mobile editor, or the one already built into the phone, is enough for most photos. 2 minutes per photo.
Step 5: Library organization
Tag photos with: window style, frame material, neighborhood (general, not specific addresses for privacy), season, before/after pair, and use rights (we'll cover this).
The use-rights consent
What to do with the photos
Google Business Profile
Add 3-5 new install photos monthly. Google lists adding photos and videos among the things that help a Business Profile, alongside keeping information complete and accurate and responding to reviews. A homeowner choosing between three map listings is reading the photos either way. GBP optimization here.
Website portfolio
Build a project portfolio page on your site organized by window style, neighborhood, or year. SEO benefit (image search), conversion benefit (legitimacy demonstration), and retention asset (returning visitors browse the work).
Social media
Every short-form social platform rewards before/after content, because the format does the work without a caption. Post 2-4 times per week during the active season. Even modest engagement compounds local-brand awareness.
Paid ad creative
Real install photos give paid creative something stock cannot: a specific house, in a recognisable kind of neighbourhood, with your crew in frame. In our accounts that is what separates creative that keeps working from creative that fatigues in a fortnight. Refresh paid creative quarterly using the latest installs, and let the test tell you rather than taking our word for it.
Direct mail
Photos of recent installs in the mailing area are the single thing a mailer can carry that a competitor's mailer can't copy. “We just finished 12 windows on Maple Avenue” with a real photo lands harder than generic marketing copy. Direct mail playbook here.
Sales presentations
Reps in-home benefit from a digital portfolio of recent local-neighborhood work. A tablet slideshow of 8-12 install examples in the buyer's own area is a meaningful trust signal.
Video supplements
Photos are the foundation. Once the photo system is running, layer in video:
- 15-30 second time-lapse of an install, cut for short-form social.
- Customer testimonial videos (60-90 seconds, real homeowners on-camera, honest opinions, and any material connection disclosed).
- Educational explainer videos (glass packages, frame materials, install process).
- Owner or operations-lead introducing the company on the homepage hero.
Video doesn't replace photos, it complements them. Both feed the visual library that makes every other marketing asset more effective.
Investment vs DIY
For most residential contractors, hiring a professional photographer once or twice a year for a 4-6 hour shoot produces hero-level brand assets: owner portraits, branded vehicle, showroom, signature install examples. We budget a four-figure number per shoot; get quotes in your own market. The day-to-day photo library is captured by the crew on their phones.
Hybrid approach: pro shoots for branded marketing assets, crew capture for ongoing portfolio depth. Pro-only is expensive and stale; DIY-only lacks the polish for premium brand surfaces.
3-5 per install
Photos to capture per completed install for ongoing portfolio depth. Compounded across 100+ installs annually, this produces a library that feeds every marketing channel for years.
Sources
- Google Business Profile Help, how local ranking works, which names relevance, distance, and prominence and lists adding photos and videos, keeping information complete and accurate, and responding to reviews among the ways to improve a profile.
- Federal Trade Commission, the endorsement guides, the source for an endorsement having to reflect the honest opinion of the endorser and for disclosing clearly and conspicuously any connection between an endorser and the marketer that consumers would not expect.
Ready to talk numbers on your own pipeline?
On the strategy call, we'll lay out the plan we'd run for your business and talk through how it fits your market.
Final thought
Photography is one of the highest-leverage, lowest-cost brand investments a residential window contractor can make. The system, crew capture, weekly intake, simple editing, organized library, multi-channel deployment, costs almost nothing operationally and produces compounding marketing value across years. Stop using stock photos. Start capturing your real work. The difference shows up first on the surfaces a buyer compares you on, the map listing and the portfolio page, and keeps widening as the library grows.
Tagged